More and more these days, we need to add custom styles to content that the user enters. This can be a challenge for front end developers as we don't know how the information will be entered and have less control over the structure. One thing we can do to help content editors is to provide them with classes and styles based on these classes that they can add in the WYSIWYG.
As this is not a how to set up a WYSIWYG tutorial, I will just state that we use CKEditor.
Once CKEditor is installed, you can begin configuring it and adding your own styles and functionality.
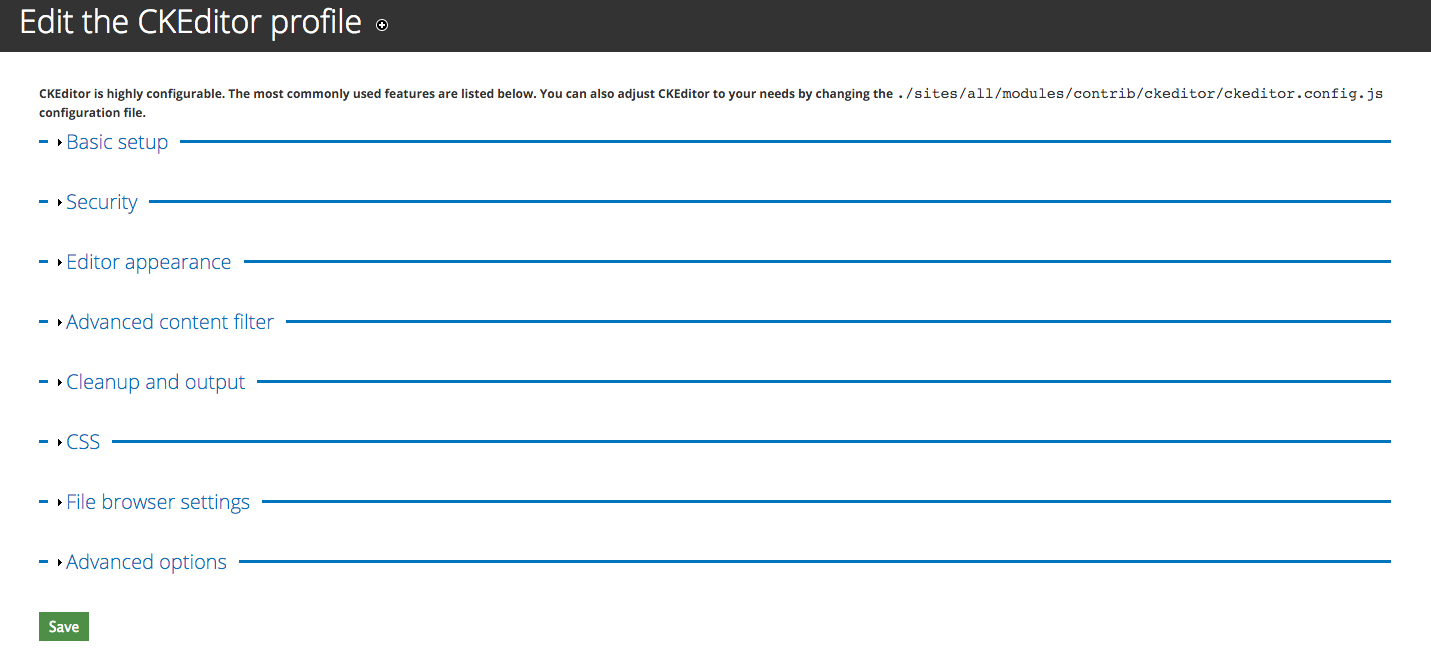
The config page allows you to choose the CKEditor mode that you want to customize. In this example, I am editing the 'full' profile.
Config page:
https://ckeditor.com/docs/ckeditor4/latest/api/CKEDITOR_config.html
 The tab we are interested in is 'CSS'.
The first configuration that we want to make is to 'Editor CSS'. As the help text suggests, this allows you to add specific css for the editor. This is what the person who inputs content will see on the admin page. Because we rename our css file, we need to use the Define CSS option.
We need to define the path. The help text suggests several shortcut methods. This is how to use the theme path, which is what you will most often use.

The field input is: %tcss/ckeditorstyles.css. In this case our css is inside ThemeFolder/css. Note that there is no forward slash between the %t and the css subfolder.
In this example I have a separate stylesheet that relates to items in the WYSIWYG. However you could link to your main.styles.css sheet, or any style sheet that you define these styles in. I chose to make a smaller style sheet so I wasn't loading a large sheet that was mostly unused.
The next configuration we are going to make is to the Predefined Styles. As with the css we want to define the path to the file. The helper text says:
'CKEditor is highly configurable. The most commonly used features are listed below. You can also adjust CKEditor to your needs by changing the ./sites/all/modules/contrib/ckeditor/ckeditor.config.js configuration file.'
This is what we want to do, so we are going to copy this file, and move it to our theme js folder. Once we have done that we can enter its location in the Predefined styles path. As with the css path, we want the format to be %tjs/ckeditor.styles.js or whatever your structure. The important part again being no leading / before the subfolder.
Now we have set up our custom paths, and have either moved or created the custom files, we can add our new styles. If you open the 'ckeditor.config.js' file we copied, you can see that the styles are fairly well documented, if not weirdly spaced. I won't explain what is documented in the file, but it should be clear how to add new classes and elements to your set up.
What should you do when your changes don't appear?
So this happens a lot and is the main reason I wanted to write this as you can lose hours trying to figure out why the additions you have made do not appear.
The first thing to do is to make sure that the settings in the config are mapping to the correct files. By this, I mean that you are pointing the custom settings to the corresponding files in your theme.
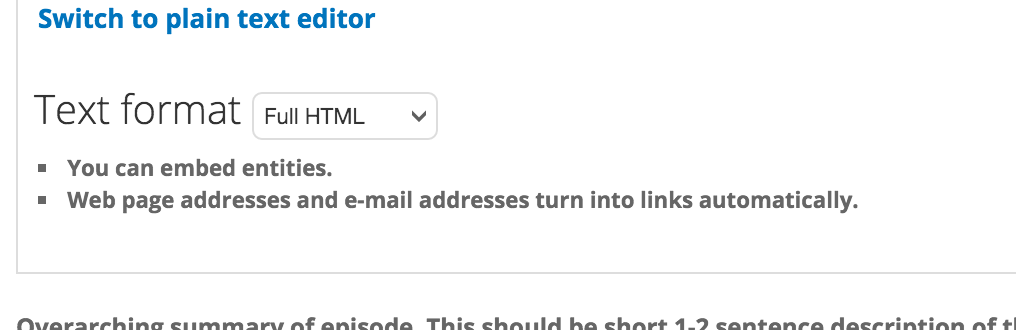
You can check in the DOM, or use the Network tab in the inspector, to see if the custom css file is being called. The next check is to make sure that the WYSIWYG is in the same mode as the one that you added the custom settings to. In my example, I used 'full'. The setting for this is on the content piece you are editing here:
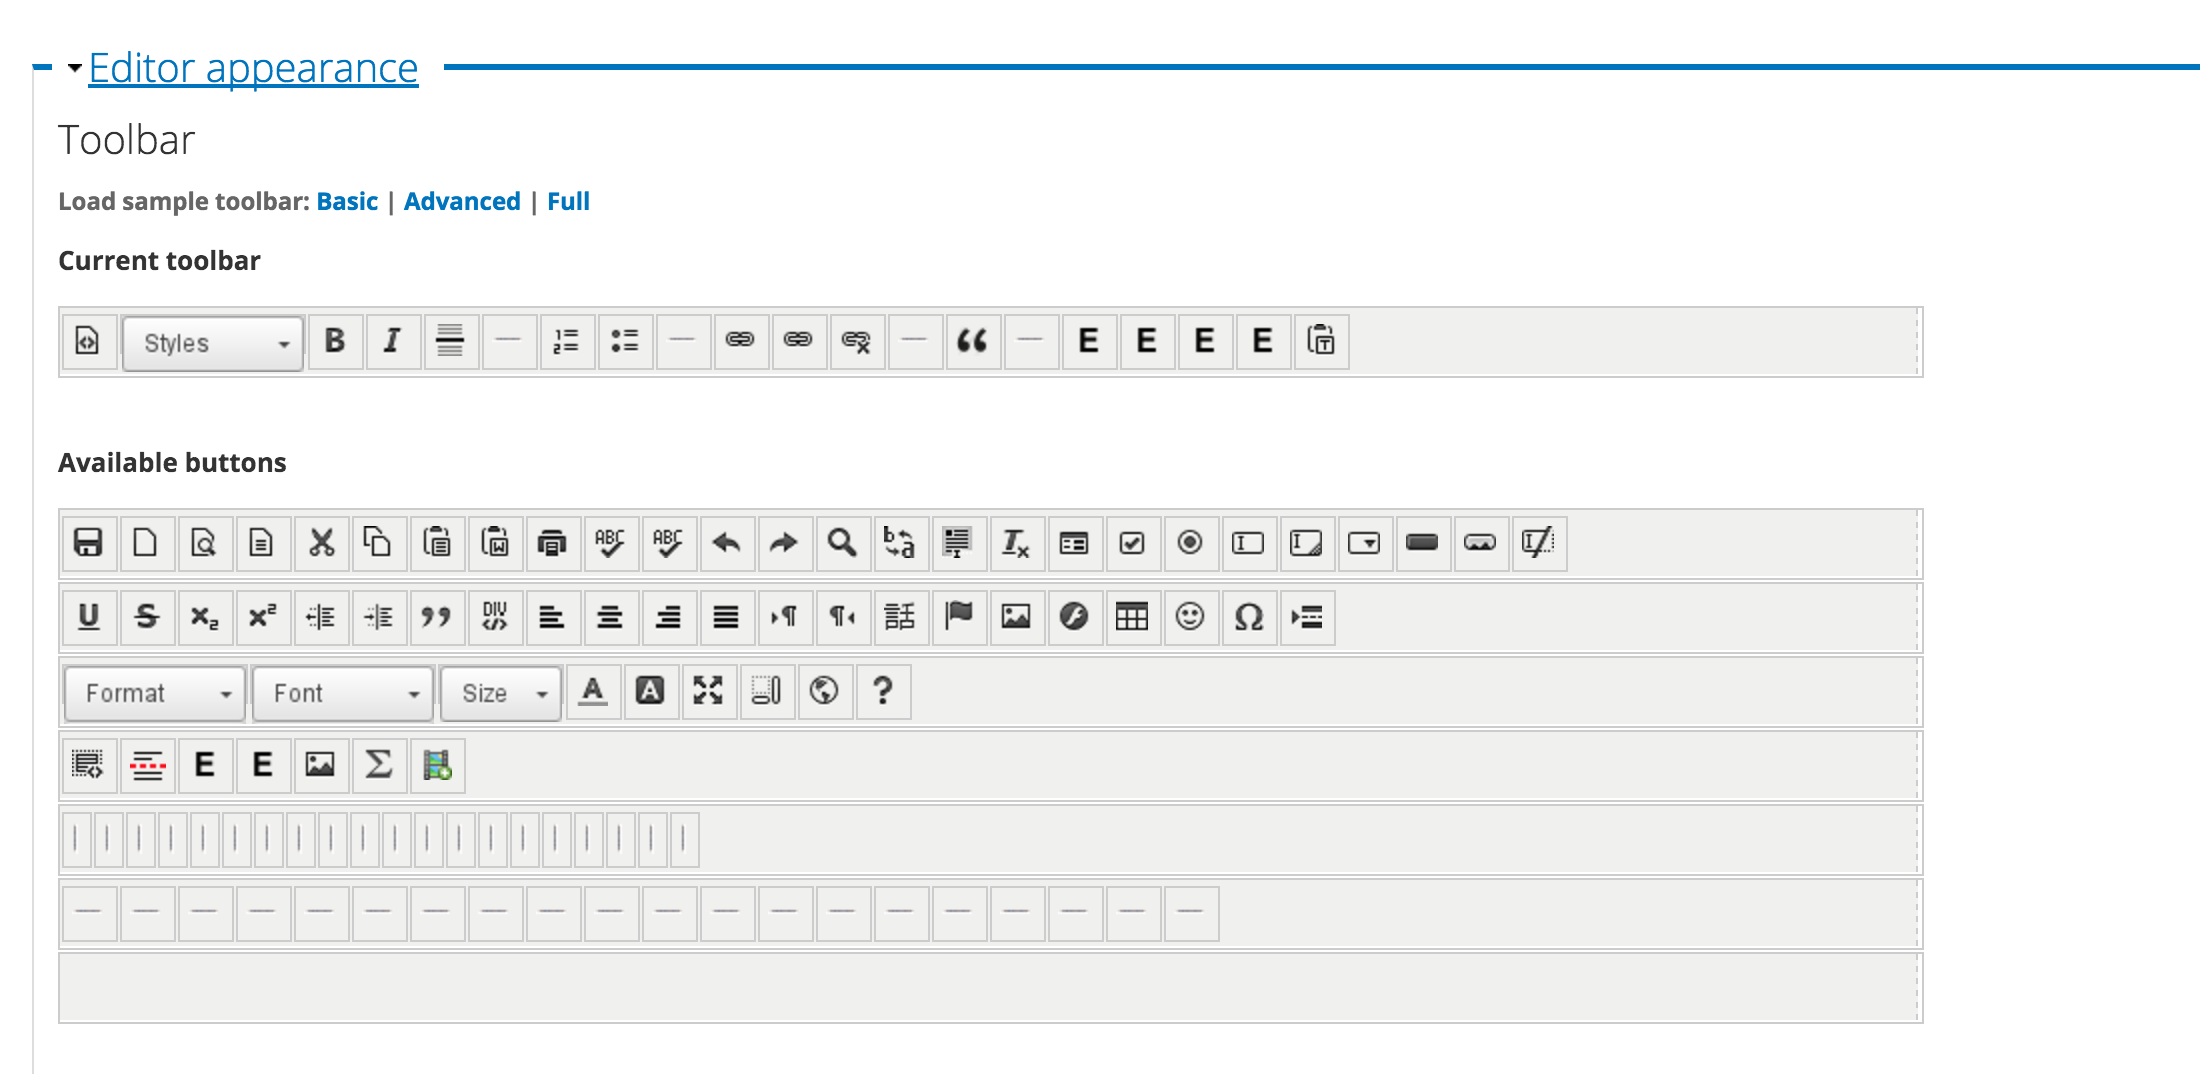
If you are seeing some of your custom styles that are defined in the js file in the editor but not all, there are several things that you can check. First, is the editor set up to allow the tag that you are defining? Second, if you added the style as a button to the editor, does the editor have that button? These can be checked here, on the CKEditor config page, under Editor Appearance:
What if edits to your js file are not showing up?
This is the most common issue that I have had. First, I would recommend trying to get as many edits done in between testing as possible. Obviously that isn't that easy to do, and you will always have to make changes, but it is useful to think in terms of making as few updates as possible. The reason for this is that the module seems to either cache or use a timestamp for the custom js file that is hard to break. One work around I had locally was that for every time I made changes to create a copy of the file, and move it to a subfolder, and then reference that in the config settings. As this is the first time that the file has been called you can see the changes.
My workflow for this was to make the changes to the file at themename/js/ckeditor.styles.js. Then create a tmp folder in js and copy the file to it, example themename/js/tmp/a/ckeditor.styles.js . Then go to admin/config/content/ckeditor/edit/(mode) and add the new path %tjs/tmp/a/ckeditor.styles.js. Clear caches and enjoy the new styles.
I hope this helps you, I know the information is out there, but I had to look in several places so hopefully, this will shorten your search.
My Sources
CKEditor - WYSIWYG HTML editor
Drupal 7: Installation of CKEditor vs. CKEditor and WYSIWYG